Thursday, November 11, 2010

Finished Dark Eldar Warriors

1st 5 Warriors are done. Here's some pics:


Here's how I painted the flesh, since it's bound to come up.

Basecoat Dheneb Stone. Wash with Ogryn Flesh. Highlight with a 50:50 mix of Elf Flesh and Skull White, keeping the darker color in the recesses. Wash again with Ogryn Flesh. Highlight with the 50:50 mix of Elf Flesh and Skull White. Highlight the raised areas with thinned Skull White, almost a 1:2 or 1:3 mix of paint to water, and slowly just build up to a pure white on the highest areas.

I need to seal these guys with another round of gloss and dull coat and they'll be good to go. On to the last 5.

~iPaint

Monday, November 8, 2010

Painting Tutorial: Warhammer 40k Dark Eldar Warrior, Scheme 1

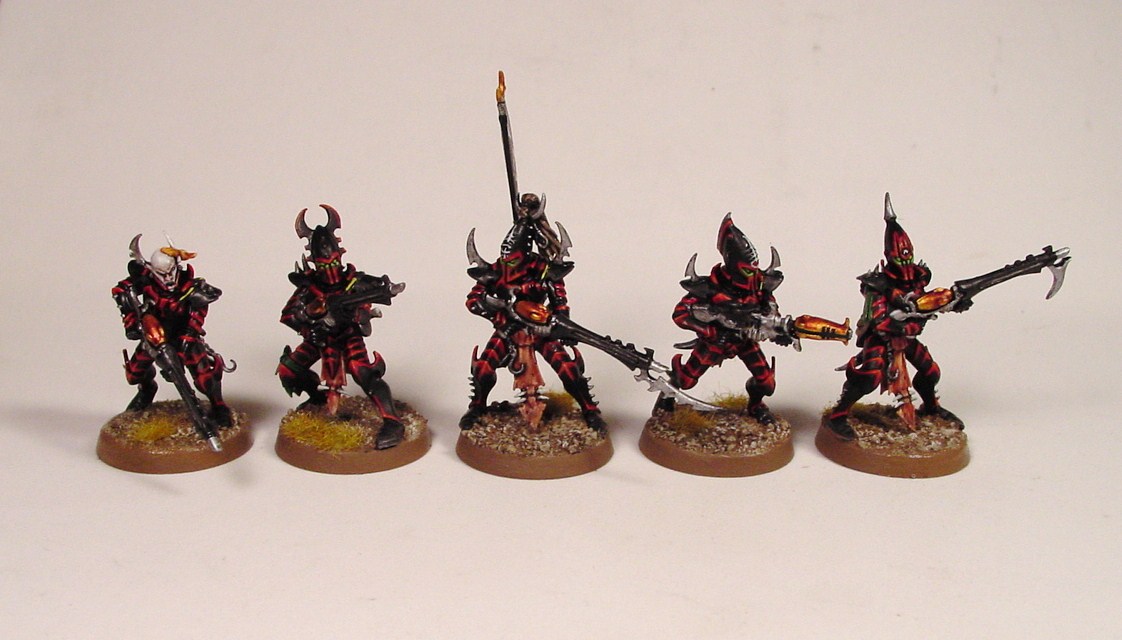
Here's the first painting tutorial, as promised

This tutorial assumes that the model has been assembled and basecoated black.


Step 1: Edge armor plates in Mechrite Red. Basecoat the skin sash in Elf Flesh. Basecoat the Splinter Rifle, highlight the under-armor, and edge highlight the shoulder armor with Codex Grey. Basecoat the arm sash in Goblin Green.

Step 2: Edge highlight armor plates with Blood Red. Wash the skin sash with Ogryn Flesh. Wash the arm sash, under-armor, and Splinter Rifle with Badab Black.

Step 3: Edge highlight armor plates with Solar Macharius Orange. Wash the skin sash with Gryphonne Sepia. Highlight the arm sash with Goblin Green. Basecoat the Splinter Rifle's power supply with Shining Gold.


Step 4: Highlight the skin sash with elf flesh. Wash the Splinter Rifle's power supply with Gryphonne Sepia. Paint the eyes and highlight the armor edges just underneath the eyes with Goblin Green. Basecoat the ammo packs with Bleached Bone.

Step 5: Wash the skin sash with Ogryn Flesh. Wash the ammo packs with Devlan Mud. Wash the Splinter Rifle's power supply with Gryphonne Sepia again. Highlight the eyes and armor edges just underneath the eyes with a 1:1 mix of Goblin Green and Sunburst Yellow. Paint the wire on the model's left shoulder with Sunburst Yellow (2-3 light coats for a smooth finish is what I did since it's such a small piece to paint).

Step 6: Paint all metal areas with Chainmail. Highlight the Splinter Rifle's power supply with Shining Gold. Basecoat bone details and dagger handle with Bleached Bone and give it a quick highlight of Skull White. Once the Chainmail has dried, wash the 2 cylinders on the belt with Badab Black.

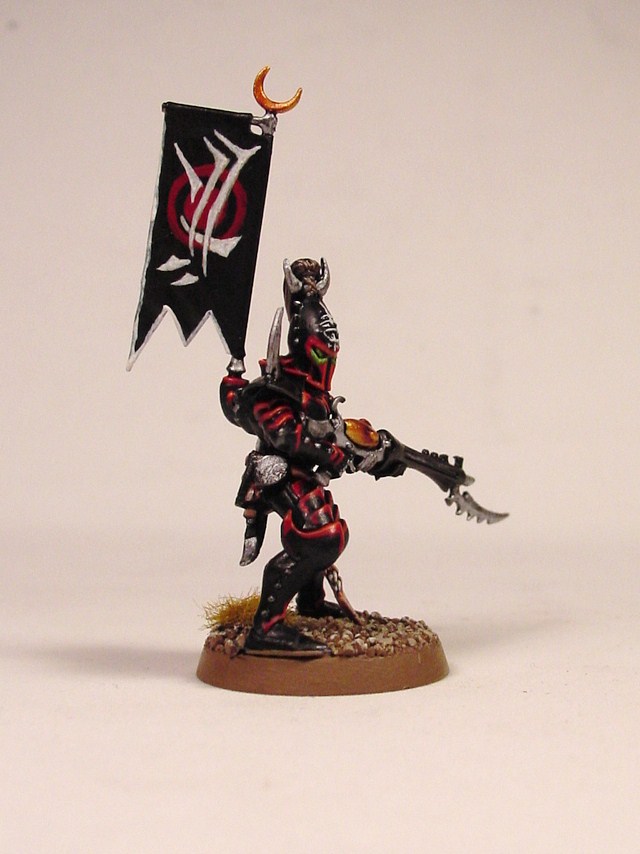
Seal the model and base as desired, and the model is ready to bolster the ranks of your growing Kabal.

Have fun and let me know how it works for you.

~iPaint

The Dark Eldar Approach!

So, I picked up a copy of the new Dark Eldar codex at my FLGS, as well as a box of the new Kabalite Warriors.

Within a few hours I had the squad ready to start painting, and a few hours later I had my first test mini finished to my tabletop standard.


Once I knock out a tutorial for this paint scheme, I'll have these guys up on a popular online auction site, so keep an eye out.

~iPaint

Friday, November 5, 2010

Painting Tutorial: Warhammer 40k Ork

Here's a tutorial for how I paint my Warhammer 40k Orks. I'd consider this my tabletop standard.

On to the tutorial:

Step 1: Codex Grey highlights for black cloth and boots. Basecoat leather straps in Bestial Brown, skin in Gnarloc Green.

Step 2: Highlight skin with 3:1 mix Gnarloc Green to Bleached Bone.

Step 3: Basecoat teeth, fingernails, straps, pouches in Khemri Brown.

Step 4: Chainmail for metal.


Step 5: Devlan Mud wash over entire model.

Step 6: Stipple Mithril Silver on metal. Highlight teeth, fingernails, stitching with Bleached Bone.

Step 7: Watered down Solar Macharius Orange is applied to create rust effects. Gryphonne Sepia is applied to a few places where the rust is once the Macharius Orange is dry.

Step 8: Paint the eyes Blood Red. Seal the model and base to your preference.


And there you have it, one more Ork Boy for the gathering Waaaagh! Let me know how the tutorial worked for you.

~iPaint

Can My Blog Sue Me For Negligence?

Yes, yes, I have neglected this blog for far too long, and I hope to start making better use of it in the near future. Start looking for painting tutorials in the following weeks.

Also, doors are still open for commission work if you happen to find your way here because of that.